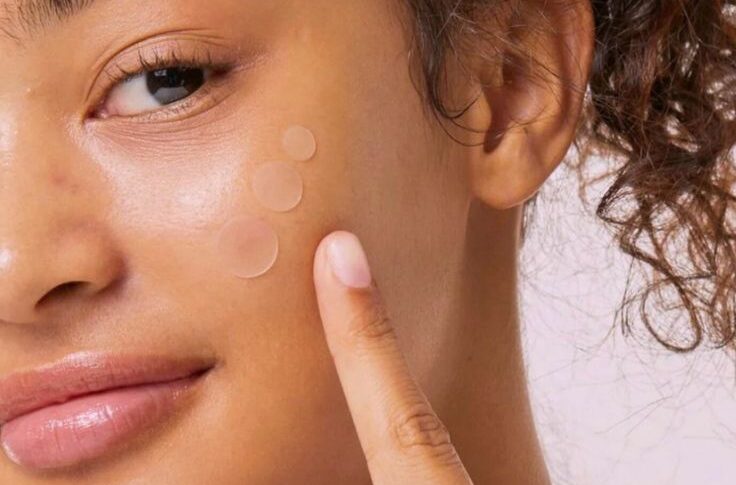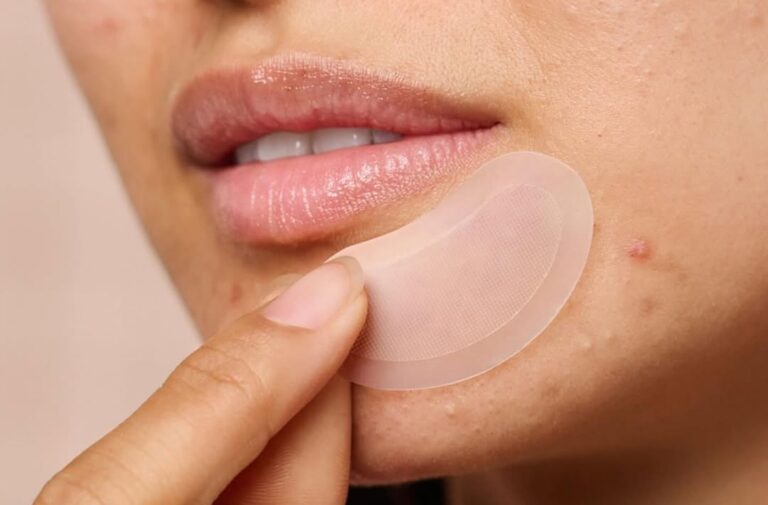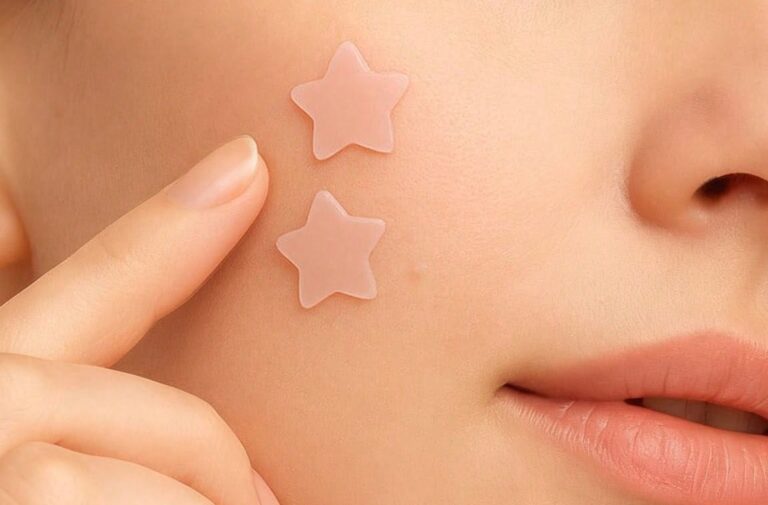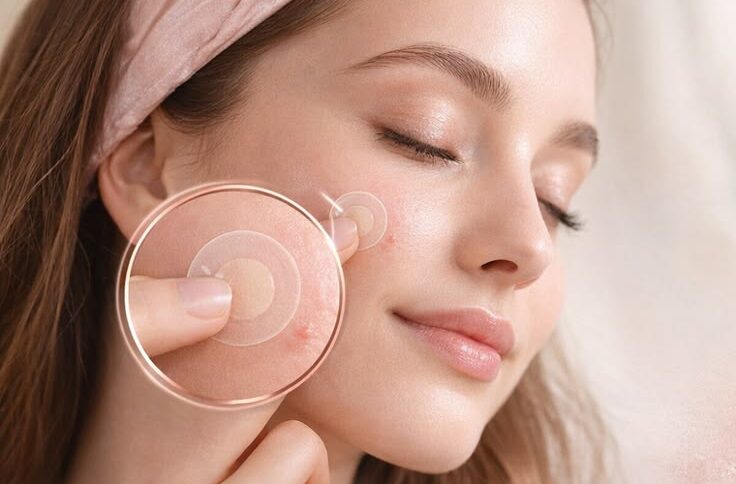
What you do immediately after removing a pimple patch determines whether the blemish heals cleanly or develops secondary inflammation, barrier damage, and permanent marks. Once a hydrocolloid dressing extracts the central plug of inflammatory fluid and purulent exudate, the newly uncovered tissue remains in a fragile, semi-occluded re-epithelialization phase. According to the American Academy of Dermatology (AAD), post-breakout handling is the single most critical factor in mitigating post-inflammatory hyperpigmentation (PIH) and tissue depression. Follow this post-patch skincare regimen to restore your barrier and accelerate complete cellular recovery.
Table of Contents
- 1. Why Post-Patch Skincare Is Critical for Dermal Healing
- 2. The 5-Step Protocol: Immediate Skincare After Patch Removal
- 3. Assessing the Site: When to Re-Patch vs. Transition to Repair
- 4. Ingredient Decision Matrix: Barrier Soothers vs. Actives to Avoid
- 5. Where Pimple Patches Belong in Your Daily & Nightly Skincare Order
- 6. Troubleshooting: Indentations, Redness, and Peeling Mistakes
- 7. Conclusion: Completing the Healing Cycle
1. Why Post-Patch Skincare Is Critical for Dermal Healing
Removing a hydrocolloid patch exposes delicate, freshly debrided skin. While the patch absorbs inflammatory purulence, sebum, and cellular debris overnight[cite: 1], it temporarily alters local surface hydration. Without appropriate post-care, the compromised barrier faces immediate environmental challenges:
- Vulnerability to Secondary Infection: The unroofed pore channel can become a pathway for airborne dirt, cosmetic particulates, and surface bacteria.
- Epidermal Maceration and Adhesive Irritation: Residual synthetic adhesives or long occlusion times can leave the perimeter red, reactive, or mildly swollen.
- UV-Induced Hyperpigmentation: Freshly exposed, inflamed dermal cells overproduce melanin when touched by ultraviolet rays, leaving stubborn red or brown post-acne marks.
FAQ: Do I need to wash my face right after peeling off a pimple patch?
Yes. Gentle washing removes gelatinous exudate residue and trace adhesives left on the skin surface, ensuring a clean slate for calming, barrier-restoring hydration.
2. The 5-Step Protocol: Immediate Skincare After Patch Removal
Proper post-patch management focuses on gentle cleansing, rehydration, and barrier defense rather than aggressive active treatment:
- Gentle Aseptic Cleansing: Wash the area with lukewarm water and a fragrance-free, sulfate-free low-pH gel or cream cleanser[cite: 1]. Lightly cleanse around the blemish to dissolve leftover tack without friction. Pat dry with a fresh towel.
- Calm with Alcohol-Free Toners: Apply a soothing, alcohol-free hydrating toner containing glycerin, panthenol, or aloe vera to rebalance skin pH and relieve mild redness.
- Replenish Moisture: Layer a lightweight, non-comedogenic barrier recovery moisturizer or post-blemish balm formulated with panthenol, beta-glucan, and ceramides[cite: 1].
- Delay Cosmetic Coverage: Avoid applying dense foundation, powder, or liquid concealer directly over the unsealed blemish for at least a few hours. Give the micro-wound time to breathe and settle.
- Shield with Broad-Spectrum SPF 30+: In the morning, cover the recovering lesion with broad-spectrum sunscreen. Healing skin is vulnerable to UV radiation, which locks in lingering pigment marks.
3. Assessing the Site: When to Re-Patch vs. Transition to Repair
After cleansing, inspect the blemish carefully to choose the appropriate next step:
| Blemish Condition | Visual & Tactile Appearance | Recommended Next Action |
|---|---|---|
| Still Draining / Weeping | Visible active fluid, open core, weeping serous liquid. | Apply a fresh patch. Ensure skin is completely dry first. Never manually squeeze[cite: 1]. |
| Flattened & Closed | No fluid leakage; lesion is level with skin, mild pink tone. | Stop patching. Switch to barrier moisturizers and broad-spectrum sunscreen. |
| Reactive / Irritated | Ring erythema around edge, localized stinging or itching. | Discontinue patches. Soothe with panthenol, ceramides, or aloe[cite: 1]. |
4. Ingredient Decision Matrix: Barrier Soothers vs. Actives to Avoid
The post-removal window is not the time to introduce aggressive chemical exfoliants or peel-strength acids. Selecting the right ingredients supports smooth re-epithelialization[cite: 1]:
| Recommended Healing Ingredients | Ingredients to Avoid Immediately Post-Removal |
|---|---|
| Panthenol (Pro-Vitamin B5) & Beta-Glucan: Deeply hydrates, speeds barrier recovery, and reduces redness[cite: 1]. | Direct Retinoids (Tretinoin, Retinol): Highly irritating when applied onto fresh, debrided epidermal openings. |
| Ceramides & Oligopeptides: Reinforce intercellular lipid structures, preventing moisture evaporation and crusting[cite: 1]. | High-Concentration AHAs/BHAs: High percentages of glycolic or salicylic acid risk localized chemical burns on raw tissue. |
| Post-Healing Brighteners: Introduce Ascorbic Acid (Vitamin C), Kojic Acid, or Azelaic Acid only after the skin closes to fade dark spots. | Denatured Alcohol & Strong Fragrances: Strips moisture and triggers contact dermatitis around fragile pores. |
5. Where Pimple Patches Belong in Your Daily & Nightly Skincare Order
To avoid patch slippage or blocked absorption, timing within your routine is crucial:
- Application Goes BEFORE Skincare Products: Apply pimple patches directly to clean, bone-dry skin. Applying moisturizers, serums, or facial oils underneath ruins the adhesive bond and traps product barriers between the hydrocolloid and the pore.
- Full Routine Follows Around the Patch: Once the patch is pressed firmly into place for 10–15 seconds, proceed with the rest of your toner, serum, and moisturizer routine across the rest of the face, avoiding patch margins.
- Post-Care Routine Runs AFTER Removal: Once removed (after 6–8 hours or overnight), perform your regular gentle skincare steps across the entire face, including the newly uncovered blemish site[cite: 1].
6. Troubleshooting: Indentations, Redness, and Peeling Mistakes
Address post-removal skin concerns with these corrective techniques:
- The Post-Patch “Crater” or Hole: Finding a small temporary indentation after removing a saturated patch is normal. It indicates that the swollen plug of pus and fluid has been extracted[cite: 1]. Keep the spot hydrated with a barrier cream and protect it with sunscreen; dermal tissue will naturally smooth out as healing continues.
- Never Pick Residual Plugs: If a small amount of pus remains below the surface, resist the urge to squeeze[cite: 1]. Squeezing introduces fingernail bacteria and increases scarring risks. Either place a fresh patch or let your natural immune defenses clear it.
- Safe Peeling Dynamics: Do not pull the patch straight outward, which can tear new epithelial tissue. Hold adjacent skin flat, lift one corner, and peel parallel along the skin line.
FAQ: What happens if I leave a pimple patch on for too long?
Leaving a patch on beyond 12 hours causes skin maceration—where trapped moisture wrinkles and weakens epidermal boundaries. Once the hydrocolloid turns cloudy and opaque, its absorption capacity is exhausted and it should be removed.
7. Conclusion: Completing the Healing Cycle
A pimple patch is only the first phase of blemish management. Once the hydrocolloid extracts pus and flattens swelling, your post-removal skincare routine takes over to protect the vulnerable skin barrier, promote even collagen synthesis, and prevent dark marks[cite: 1].
By following a simple sequence of gentle cleansing, barrier-supporting hydration, and daily broad-spectrum sun protection, you ensure blemishes heal smoothly without lingering scars or irritation. Treat the post-patch window with the same care as an open wound, and let your skin complete its repair cycle naturally.
Industry References & Data Sources:
- American Academy of Dermatology (AAD): Acne Post-Care and Skin Healing Best Practices
- Wikipedia: Hydrocolloid Dressing Principles & Wound Care
- Wikipedia: Panthenol Role in Epithelialization
- Wikipedia: Post-Inflammatory Hyperpigmentation (PIH) Pathophysiology